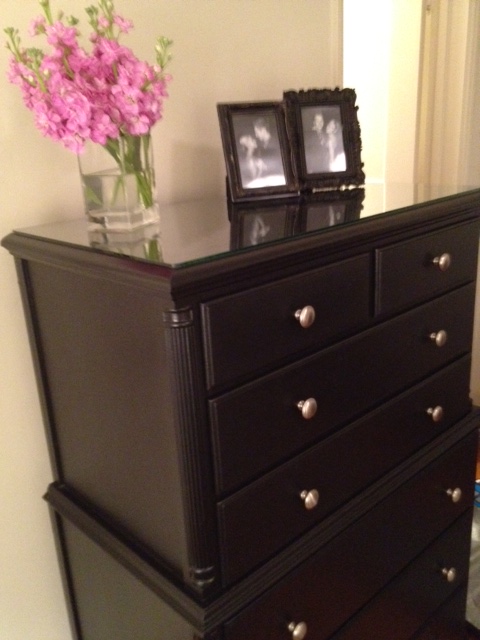
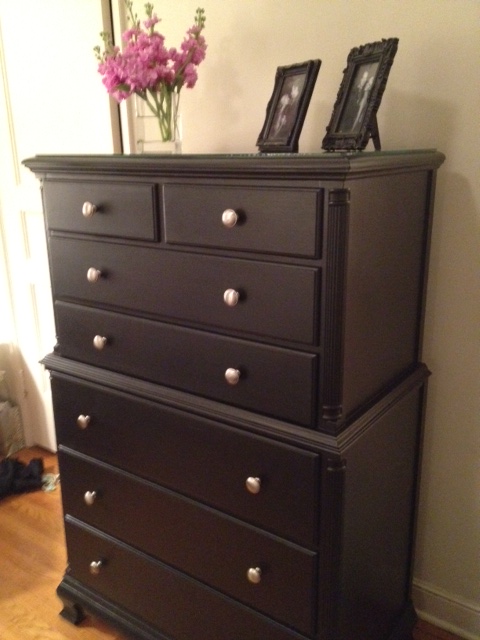
It’s done! Wooo Hoooo!!!! After months (literally months) of living in a fine layer of dust from continual sanding, the bedroom furniture is finished, and we no longer have 10 drawers, two nightstands, and an armoire in our living room!
You have no idea what this means, and the intense feeling of satisfaction I have at having completed this never ending project! The pictures don’t even portray the 180 degree change that has occurred, but take look at the transformation!!
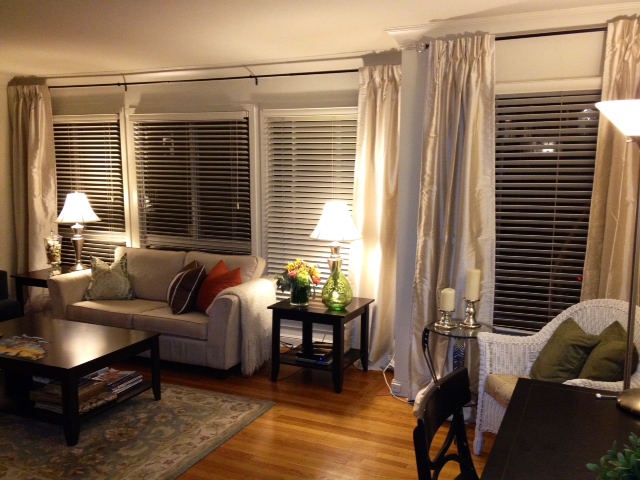
BEFORE:
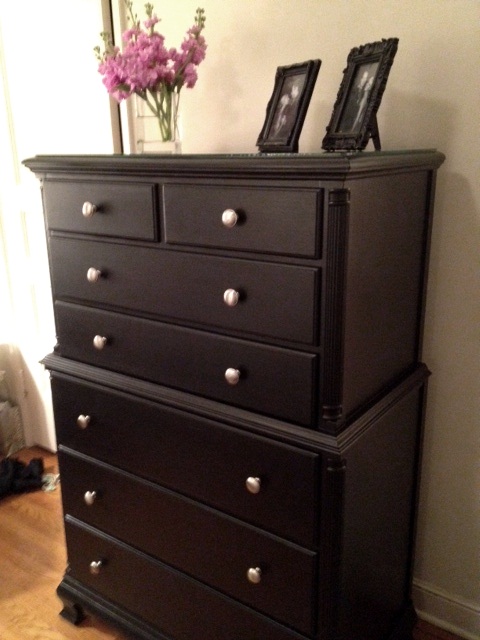
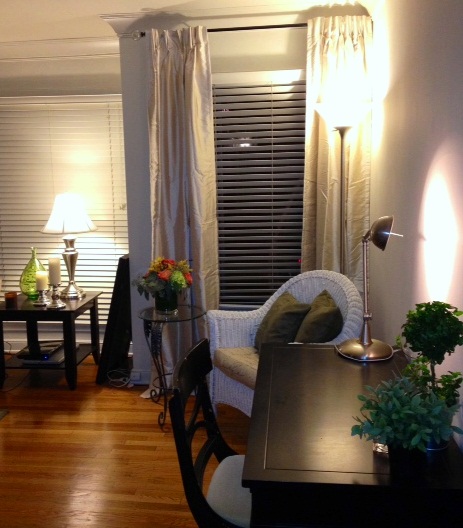
AFTER:
Let’s start at the beginning, and I’ll take you through the process:
November 2011: Empty out all clothing into cardboard box from which I will live out of for the next four months. Four. Long. Months.
Ok, moving past that…
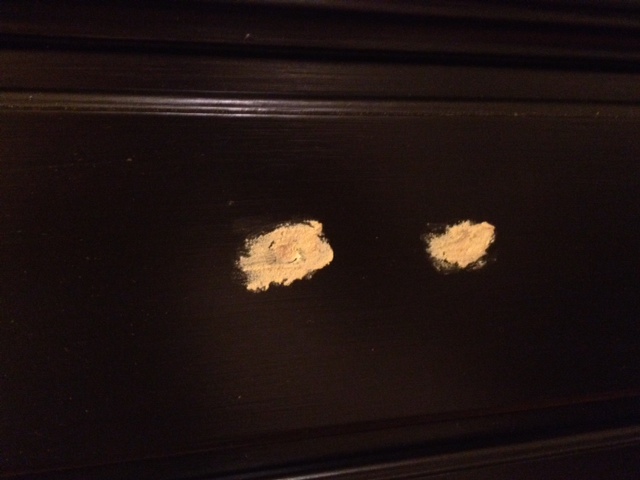
Remove the drawers and patch the holes with a wood putty. Be sure you are working with a clean, dry, dust free surface. Also, be sure to invest in a putty knife – it will make the putty fill the hole tightly, and prevent the need for 3 or 4 rounds of patching. Because the holes were pretty deep, I had to get my hands dirty, and really pack the putty in the hole (roughly 1cm deep). The patching took some serious time as each drawer had two holes per pull. Putty should take around 2 hours to dry, but per my dad’s suggestion, 48 hours means it is fully cured (putty in the middle of the hole will be dry as well – not just the putty on the outside of the drawer). The drawer below has been patched once. Because the holes were deep, they needed more than one round of putty, so below, we were looking for coverage, not perfection.

Once the first round with the wood putty dries, sand down until smooth. Sand with a fairly heavy grade sandpaper as the goal here is to strip off the old paint, and prep the holes for another layer of putty. You can see in the below photo, that a good amount of paint was removed around the holes. Once the drawer is smooth, and the putty has been sanded flush with the drawer, apply a second layer of putty. Here I used a finer grade filler than wood putty to be sure there were no visible dimples in the wood from the filled holes. Use a putty knife to apply again, but be sure to pack the putty tight, and feather out at the edge.

Once the second layer of putty is dry, use a fine grit sand paper or a sanding block to lightly sand down. Be patient here, and use uniform pressure while sanding the full length of the drawer face. By doing so, you will avoid imperfections caused by uneven sanding. This part will be messy – the dust coming off gets everywhere so be sure to prep the area with a drop cloth, and wear clothes you don’t mind getting dirty. By the end of the day, you will look as though you got wild with baby powder. Also, a mask isn’t a bad idea, to avoid inhaling the dust… hindsight is 20/20.
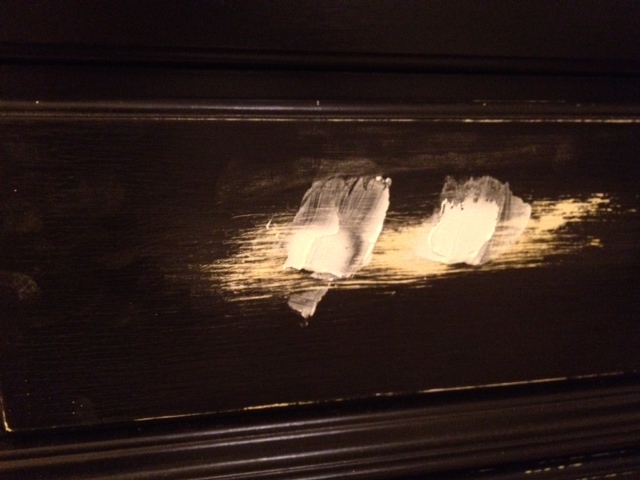
Keep a close eye on the drawers as the putty wears down. You will see a slight circle form around the patched hole and this indicates that its flush, or pretty darn close (the first picture below gives a good example – look at the hole on the right; it’s almost like a halo around the patch).
Run your fingers over the holes to gauge when the patch is flush with the drawer. I found it helpful to close my eyes when running my fingers over the holes – by eliminating sight, I was better able to feel any imperfections. There were several instances (especially in the beginning) where I over-sanded and had to go re-patch and re-sand the hole, but one do-over early is better than going back after its been painted and you see the dimple of the original hole. Trust me.
Once everything is sanded, make sure you clean up well before moving on to paint. Any dust when painting could ruin the coat, so shake out and wash your drop cloths, sweep, mop, and dust EVERYTHING. Once everything is cleaned up, prep to paint.
Invest in some tack cloth (a super sticky cheese cloth – find it at Home Depot) to wipe down each piece before painting. It will essentially grab every last particle of dust for a clean start.
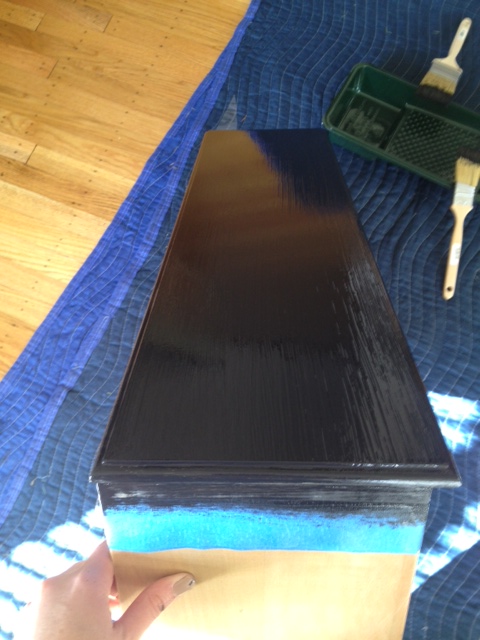
For furniture that gets heavier usage – nightstands, dressers, kitchen tables, etc – use oil based paint. It’s more durable than water based paint, and though its a pain to clean up, you will save yourself from having to re-sand and re-paint chipped surfaces in a few months.
With the oil based paint, invest in a natural bristle brush – I used a 1.5″ with angled tip on the drawers and 2.5″ flat tip for the dresser and nightstands. I chose an angled tip because of all the beveled surfaces – the angle makes it easier to cut in. For large pieces with flat edges, a flat brush would be just fine. Do not get a brush with synthetic bristles – these brushes will lose their shape in oil based paints and primers. Also, do not try to save money here – splurge on a good brush that won’t shed bristles into your pieces while painting.
Ok… moving on. Tape off the edges to ensure a clean line – messy edges take away from having the piece look professional. Look at the bottom of these drawers – you can see the over-spray from their original paint job… a lovely shade of guacamole. Ooh la la. 🙂
In the below close up photo, also note that the full drawer front has been sanded – to the touch it needs to be smooth otherwise you’ll be going back to redo everything.
*A quick note on sanding the paint – unless there is severe damage and it all needs to come off, you will see how much to sand based on how much paint flakes off, and how rough it feels between the paint and what lies underneath…
Put on your paint clothes and PIN LONG HAIR BACK. Another tough lesson for this blonde – while leaned over, I dipped my ponytail into the paint… thus painting got put on hold while I made an emergency trip to the salon (another story for another day).
Because these drawers had already been painted black, I skipped the priming step. Some might feel this is wrong, but my dad assured me they would be fine, and right he was. If you are painting over a very light color with dark paint, or a bright color, prime with oil based primer. If not, this step may not be necessary.
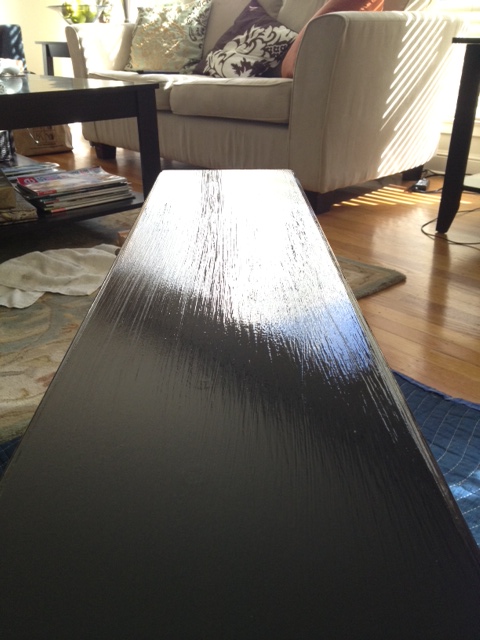
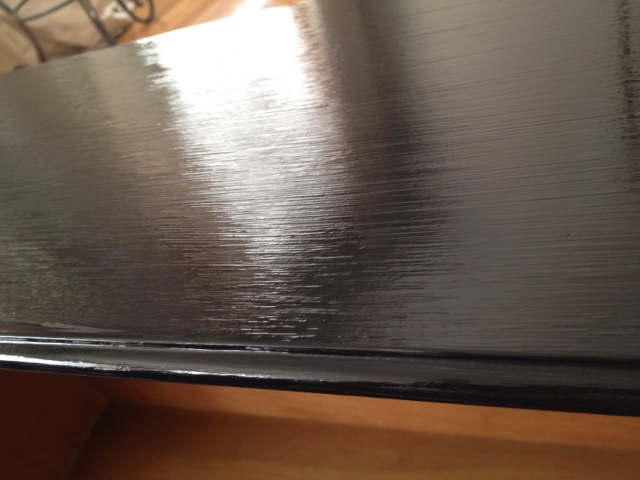
I started on the flat surfaces with the larger brush and finished up on the beveled edges with the smaller angled brush.
Do not skimp on the paint. I did two coats on most drawers – a few needed three coats for extra coverage; especially on the drawers that got sanded down to the original green paint.
In addition to painting the drawers, I was working on the nightstands and armoire – you can see in a few of these pics how many layers of paint I made it through (black, and creme, and green… oh my!)
On to the home stretch. Unfortunately I do not have any pictures of the final steps, but it’s pretty simple.
Step I: Let paint dry 🙂
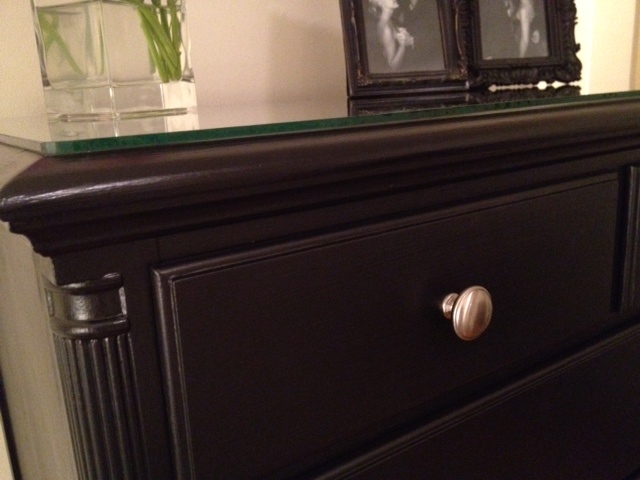
While the paint dries, prep for the finishing touches. I bought pulls (one per small drawer, and two per large drawer). You can splurge here, but I actually found a steal at Target – 14 pulls for ~$30. That would be ~$2 per pull – a vast difference from Restoration Hardware’s $7/pull, and I swear to you, they are identical!!
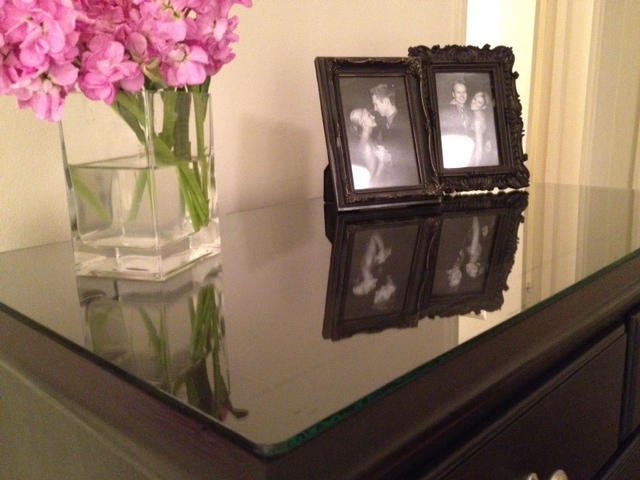
I also do not want to put myself through this process again while we live in a 1BR apartment in San Francisco, so I ordered custom cut glass to protect the tops of the nightstands and dresser. Go as thin as you can with the glass, but be sure its not going to be brittle. We got 3/16″ thick sheets of glass, and be sure you have the glass manufacturer round the edges – the last thing you want is to cut yourself on the edges!
Once we picked up the glass and had the pulls in hand, we got out the measuring tape, and grabbed some paper, because it was time to drill some holes. Double and triple check your math and measurements, because once the hole is drilled, there is no going back – with stacked drawers, one slight error will mean the pulls won’t line up! I really wish I had snapped a few shots of this, but we used painters tape around where we thought the holes might be. With a measuring tape, we were able to mark on the painters tape where the holes would be, and drilled right through the tape. Having tape there also helped prevent the wood from splintering or splitting so it was perfect! With the holes drilled, we screwed in the pulls, polished the glass and carefully put it in place!
So that’s it! Four months of sacrificed weekends, furniture in the living room, and ravaged manicures… and it was SO WORTH IT!