It’s almost November, which means it’s almost my FAVORITE holiday… Thanksgiving!!
Butternut Squash + Sage Soup
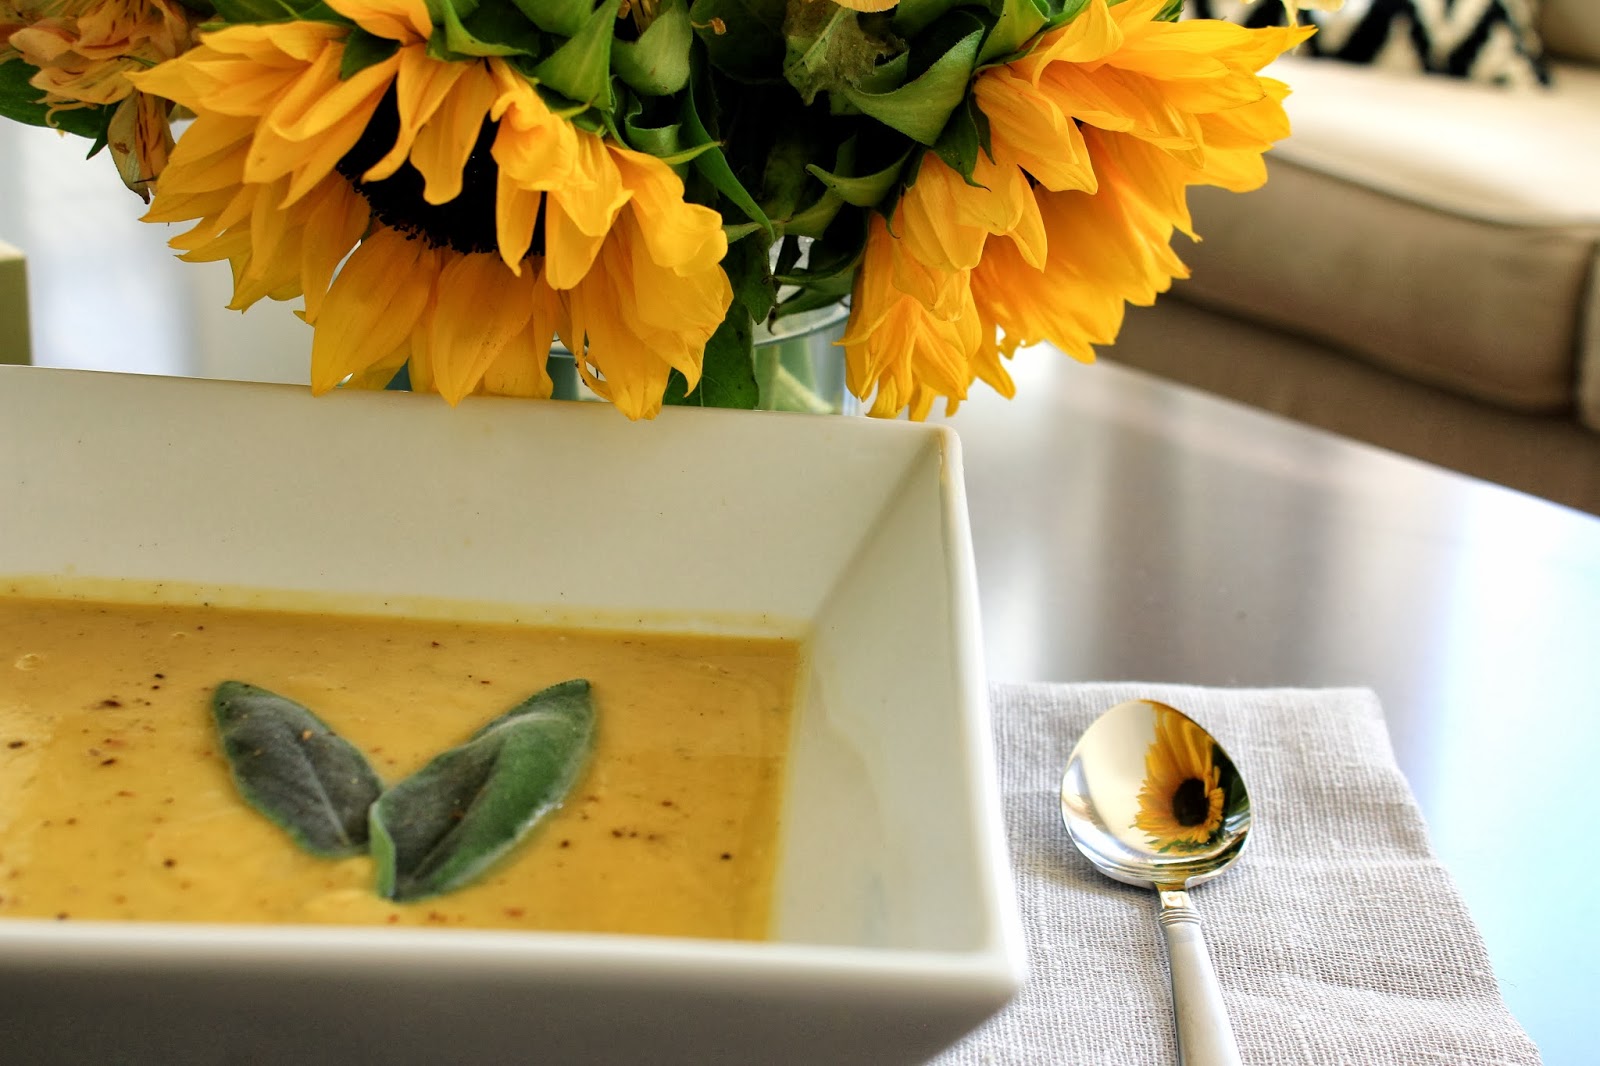
With the cool weather finally upon us, I decided to make soup. Butternut squash soup to be exact, and it could not have been easier!
I didn’t use a specific recipe, and eyeballed pretty much everything, but it turned out amazing, and I pretty much guarentee that this is going to become one of our fall staples for supper this year.
Here’s how to make it…
Ingredients:
– One large butternut squash
– Half of a yellow onion
– Three large cloves of garlic
– One low sodium carton of chicken stock
– Sprig of Sage
– Olive Oil
– Butter
– Half and Half
– Salt
– Pepper
– Cinnamon
– All Spice
– Chili Powder
Recipe Instructions:
Use a regular potato peeler to peel the thick skin off the butternut squash. It’s pretty tough so I don’t recommend a paring knife unless you really know what you’re doing.
Once the skin is off, cut the butternut squash into cubes. Near the “bulb” of the squash, there is seeds and fiber that you’ll want to scoop out with a spoon.
Once it’s peeled, toss the cubes in a large pot with the chopped up onion and garlic (you can also use shallots, but I didn’t have any on hand).
Coat everything generously with extra virgin olive oil, and a sprinkle of salt, and get things sauteing. As everything starts to cook, add in a bit of butter – I used around 3 tablespoons, or roughly 1/4 of a cube of butter. At this point I also added in a dash of cinnamon, a dash of all spice, a dash of chili powder, and a large sprig of torn up sage (about 5 large leaves).
Cook things on medium to high heat until everything has softened a bit – just before the butter starts to get brown, add in the chicken stock. I didn’t measure at all – just poured until the stock covered most of the butternut squash, about 3/4 of the way – I used about half to 3/4 of a 1-quart carton.
Put the lid of the pot on, and let things cook. You want to make sure the butternut squash is really soft – let it go for 15 – 20 minutes or so.
At this point, turn the heat off, and let it cool for a few minutes. Spoon the cooked ingredients into the blender (in batches) and blend until smooth. I ended up adding a bit more chicken stock as each batch blended to get it really super smooth. An immersion blender would have been amazing at this point, but the regular blender worked just fine.
Once everything was all blended, I added everything back into the big pot, turned the heat back on and tasted the soup. It will probably be pretty bland still – I went with low sodium chicken stock so I could control the salt, so I added in more salt (I’m guessing around two teaspoons or so), along with two more dashes of cinnamon, two dashes of all spice, two dashes of chili powder, and pepper.
Keep tasting as you season – you might like more salt, or pepper, or less cinnamon, etc. It’s all personal preference at this point. I also added a splash of half and half (only about 1/4 cup).
The soup was already really creamy without it, so you could absolutely skip this step if you wanted to keep this healthier. Mix it all together, let the ingredients cook a bit more, and you’re ready to eat!
Herringbone Wood Floors – it’s Love
And as it looks equally as amazing with wood in a more greyed out coloring…
This is a much more traditional take, and i love how warm it looks – the pattern is more subtle because of the coloring in the wood, but it almost has an ombre effect.
Shorter planks are also pretty awesome, and I love how the pattern is edged in before switching to flat rows of wood in the hallway and adjacent rooms.
And the final room has the herringbone wood set at a steeper angle in the below room, using darker wood with a more pronounced grain – it gives it kind of a woodsy look, don’t you think?
Black and White and Grey All Over
I just cannot get enough of this image…
I am absolutely loving the greyed out wood floors, and the perfectly imperfect dining room table, and all the lovely muted colors…. but what I really love the most is the awesome bookshelf in the background. Totally unassuming, but so cool – a little industrial, a little classic, a little natural. It’s amazing.
I’ve seen lots of bookshelves with patterned backs – using wallpaper, fabric, wrapping paper… but I really love how the back of this bookcase has simple planks of wood. The greyed out, light wood allows all the accessories on the shelves to take center stage, but while they are a “quiet” muted slate for displaying the contents of the shelves, I think that they bring something really special to this bookshelf…
I also love that the shelves of this bookshelf are made out of the same cool muted wood (or is it “wood”… so hard to tell!).
After admiring this bookshelf for a while, I started brainstorming how to recreate this awesome bookshelf, and came up with a game plan.
The bookshelf in this picture looks A LOT like the Vittsjo Shelving unit from Ikea…
The problem, is that since the Vittsjo is made of a lightweight metal, it’s would require some serious skillz to securely hang rustic wooden planks from the back. I’m actually not convinced that it would really work out… it seems like a terrible idea to mount heavy wood planks on one side of a light weight frame. I can just picture that thing toppling over.
So, to avoid DIY catastrophe, I say that using actual wood is out… going to plan b, I’m thinking something sturdy but lightweight like particle board would be a MUCH better bet. It’s cheap, so all you would need are a few long sheets at Home Depot (they can measure and cut to size for you)!
Once you have a long piece of particle board cut to size, it’s time to get creative.
Queue up the Faux Bois Rocker…
Pretty awesome, right??
The last photo comes from Little Green Notebook, and she has a FABULOUS tutorial on how to create this effect.
OKKK – now that we’ve gone down the faux bois rabbit hole… I’ll continue.
Create this finish (perhaps more subtly) on the MDF / particle board, screw holes in the bookshelf and attache the boards to the back.
So easy, and likely $100 for the entire project (or less if you are able to find a Vittsjo on Craigslist).
I REALLLLYYYYYY want to try this now!
DIY Paper Mache Pumpkins
I’m thinking that it could be as easy as this…
Supplies:
– Small Pumpkins
– Glue
– Craft Brush / Foam Brush
– Small Container
– Old Books
– Moss
1. Buy some small irregularly shaped pumpkins from the grocery store (look for ones with long stems)
2. Mix one parts glue (Elmer’s white glue) and one parts water in a small container
3. Rip book pages out of an old book you’ll never read again (hey, I just gave you a use for the copy of Twilight hiding in the bookcase!)
4. Tear pages into small pieces
5. Adhere pieces of the book pages to the sides of the pumpkin
6. Glue a bit of moss around the stem of the pumpkin
7. You’re done!
You could mix it up like the pumpkin on the far right, and use plain creme colored paper and finish it off with a cool stamp…
You could take things a step further and use a little gold leaf on a few of these…
Like the above pumpkins, you could hang small jewels, brooches, or name tags off of these – how cute would these be as a name card for a place setting at a spooky Halloween dinner??
I might have to give this DIY a go!
Happy weekend 🙂
Wall Stenciling
You know how sometimes you just see something completely inspiring, and you have to tell everyone and their brother?? Well that’s what happened to me since stumbling upon Tiffany’s fabulous entryway on her blog, Living Savvy.
I mean… it’s just draw dropping in all it’s dramatic glory.
AAAHHHHHH! It’s SO GOOD!! That green??? Stop it.
And that mirror?? SOOOO jealous!
This two toned entry way was quite stunning – and it looks like the paint was actually metallic. Fancy!!
I Heart Booty
Simple and Subtle Fall Decor
Did I miss any good ones that you love? What are your favorite little fall decor updates?? I also love a good fall wreath on the front door!
Happy Tuesday!
Our new Bar Cart
Happy Monday you guys!
I’ve been MEANING to post this for several weeks, but let me introduce you to our new bar cart!!
Yes, you heard me… BAR CART. Hollllaaaaaaaa!!!
I’ve been wanting one for close to two years, and after much hunting, and much waiting I have one!! Do you remember the one that got away?? If only I’d pulled the trigger on a truly vintage bar cart, but everything happens for a reason, right?? Anyway, remember how I posted about this one from Target’s Threshold collection??
Well, I couldn’t help myself! I swear, once I saw it, it was a done deal.
I had a little difficulty tracking it down, but I wasn’t ready to pull the trigger without seeing it in person. After locating one about an hour away, it was love at first sight.
I LOVE the brassy bronze finish, and the wood tray tops are a really nice touch. I mean, it’s actually wood people!! I’d read reviews that people said it looked and felt more expensive than it is. This is the truth!! It’s heavy, and feels so sturdy. I could not be more happy with it 🙂
I had so much fun styling the top. Turns out, we like our cocktails, because after gathering up all the bottles of alcohol in one place we had everything we needed! Vodka galore, tequila (when and why did I buy that??), whiskey, and all the fixings for the perfect Manhattan.
Add to that, the really pretty cocktail glasses my mom gifted me (I actually think they are the old school champagne glasses with the wide bowl) some martini glasses, and all the tools for mixing, stirring, and straining drinks, and we were in business!! There ALMOST wasn’t enough room for it all!
Once all the bar essentials were in place, I needed to add some fun accessories.
It is fall after all, and I couldn’t resist this cute little wooden fox. I mean, what is a bar without a sassy fox??
I also loved the bronze candle holders – at night, they give a really pretty amber glow to the area.
Speaking of foxes… have you heard and / or seen the video for the song, “What Does the Fox Say“?? So hilarious – one of my coworkers introduced me to it, and I still can’t decide if it’s a joke, or if they’re serious. Listen to it a few times… you’ll find yourself humming it at the most random times!
Anyway…
I’m still not loving the lower shelf’s styling, but it’s fine for now.
I felt it needed some height, which is why the lantern landed there, but I just don’t love it. Still working that out…
The light was really bright from the living room when I was taking these photos, so excuse the washed out pictures… I was aiming for a shot from further back to get the shelves in there… and the print hanging above the bar cart.
I hung that months before I knew we’d ever have a bar cart! How perfect is that?!
So that’s it! Our new little bar cart that encourages the observance of cocktail hour… not that I’m complaining!
What do you think??
Are you running off to the store to get one of your own?
Who wants to play the role of Betty Draper with me?!
Fall Foliage
It’s been a crazy CRAZY week, so while I simply don’t have the time (or energy) to write something supremely clever, or creative, or even related to design, I’ll leave you with a photo I snapped of the most gorgeous tree in the world…
Seriously, those colors?! It’s like I hallucinated it!
This weekend, I’m headed down to Orange County for a wedding – last wedding of the year for us – and so I’ll be back next week, refreshed (hopefully) and full of fun, creative content for you all.
Happy early weekend!
xo


